
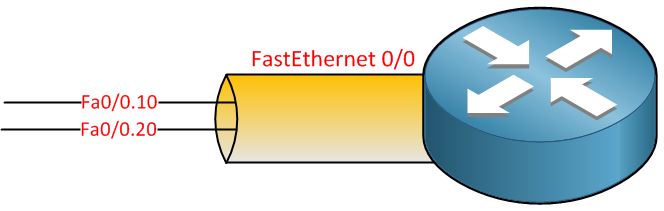
A layer three etherchannel is similar to an interface on a router. The switch won’t “switch” traffic on this interface but route it. Because it’s a layer three interface, we configure an IP address on it.
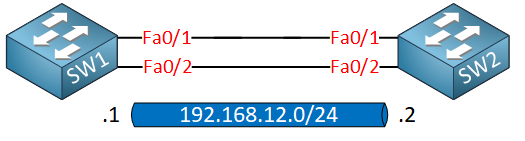
I’ll be using two switches for this:
Before we configure the port channel settings, you need to make sure that all interfaces have the exact same configuration. Once you use the channel-group command, the port-channel interface will automatically inherit all settings from your physical interface. If you forget to run the no switchport command on an interface, your etherchannel will be layer 2 instead of layer 3!
Having said that, let’s configure our switches:
SW1(config)#interface range fastEthernet 0/1 - 2
SW1(config-if-range)#no switchport
SW1(config-if-range)#channel-group 12 mode on
Creating a port-channel interface Port-channel 12
SW2(config)#interface range fa0/1 - 2
SW2(config-if-range)#no switchport
SW2(config-if-range)#channel-group 12 mode on
Creating a port-channel interface Port-channel 12
This creates our Etherchannel. We can verify our work like this:
SW1#show etherchannel 12 summary
Flags:  D - down        P - bundled in port-channel
        I - stand-alone s - suspended
        H - Hot-standby (LACP only)
        R - Layer3      S - Layer2
        U - in use      f - failed to allocate aggregator

        M - not in use, minimum links not met
        u - unsuitable for bundling
        w - waiting to be aggregated
        d - default port

Number of channel-groups in use: 1
Number of aggregators:           1

Group  Port-channel  Protocol    Ports
------+-------------+-----------+-----------------------------------------------
12     Po12(RU)         -        Fa0/1(P)   Fa0/2(P)
Above, you can see that our port-channel 12 interface is layer 3, and it’s operational. Just like any other layer 3 interface, we can configure an IP address on this port-channel interface:
SW1(config)#interface port-channel 12
SW1(config-if)#ip address 192.168.12.1 255.255.255.0
SW2(config)#interface port-channel 12
SW2(config-if)#ip address 192.168.12.2 255.255.255.0
Let’s see if that works:
SW1#ping 192.168.12.2

Type escape sequence to abort.
Sending 5, 100-byte ICMP Echos to 192.168.12.2, timeout is 2 seconds:
!!!!!
Success rate is 100 percent (5/5), round-trip min/avg/max = 1/2/8 ms
No problem at all! If you enabled ip routing on your switch, you will see that the switch uses the port-channel interface in its routing table:
SW1#show ip route connected
C    192.168.12.0/24 is directly connected, Port-channel12
That’s all there is to it. I hope this lesson has been useful to you!

Comments (0)
Leave a Comment
No comments yet. Be the first to comment!